We have a fun event coming up downtown Cedar Falls on Thursday – Downtown Delights! It’s a shop hop that includes wine & chocolate. Does it get any better than free samples of wine & chocolate?! At Hatchlings & Hens it gets just a little bit better…because we’re also offering a free craft during the event that runs from 6-9:00 p.m.
These super easy rustic anniversary signs would make a great addition to just about any home decor. And best yet – it’s a quick project so you can swing in and be on your way to the next stop on your wine and chocolate adventure. Here’s a quick rundown on how we created this fun piece!
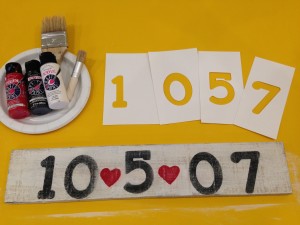
What you’ll need:
- A piece of rustic wood – we used pallet wood we had laying around but any scrap wood will do as long as it’s wide enough for stencils.
- Number stencils – you can find these at any craft store. We made ours using a Cricut machine.
- Wide paint brush
- Stencil paint brush
- Fine tip paint brush
- Red paint
- White paint
- Black paint
- Sandpaper
Directions:
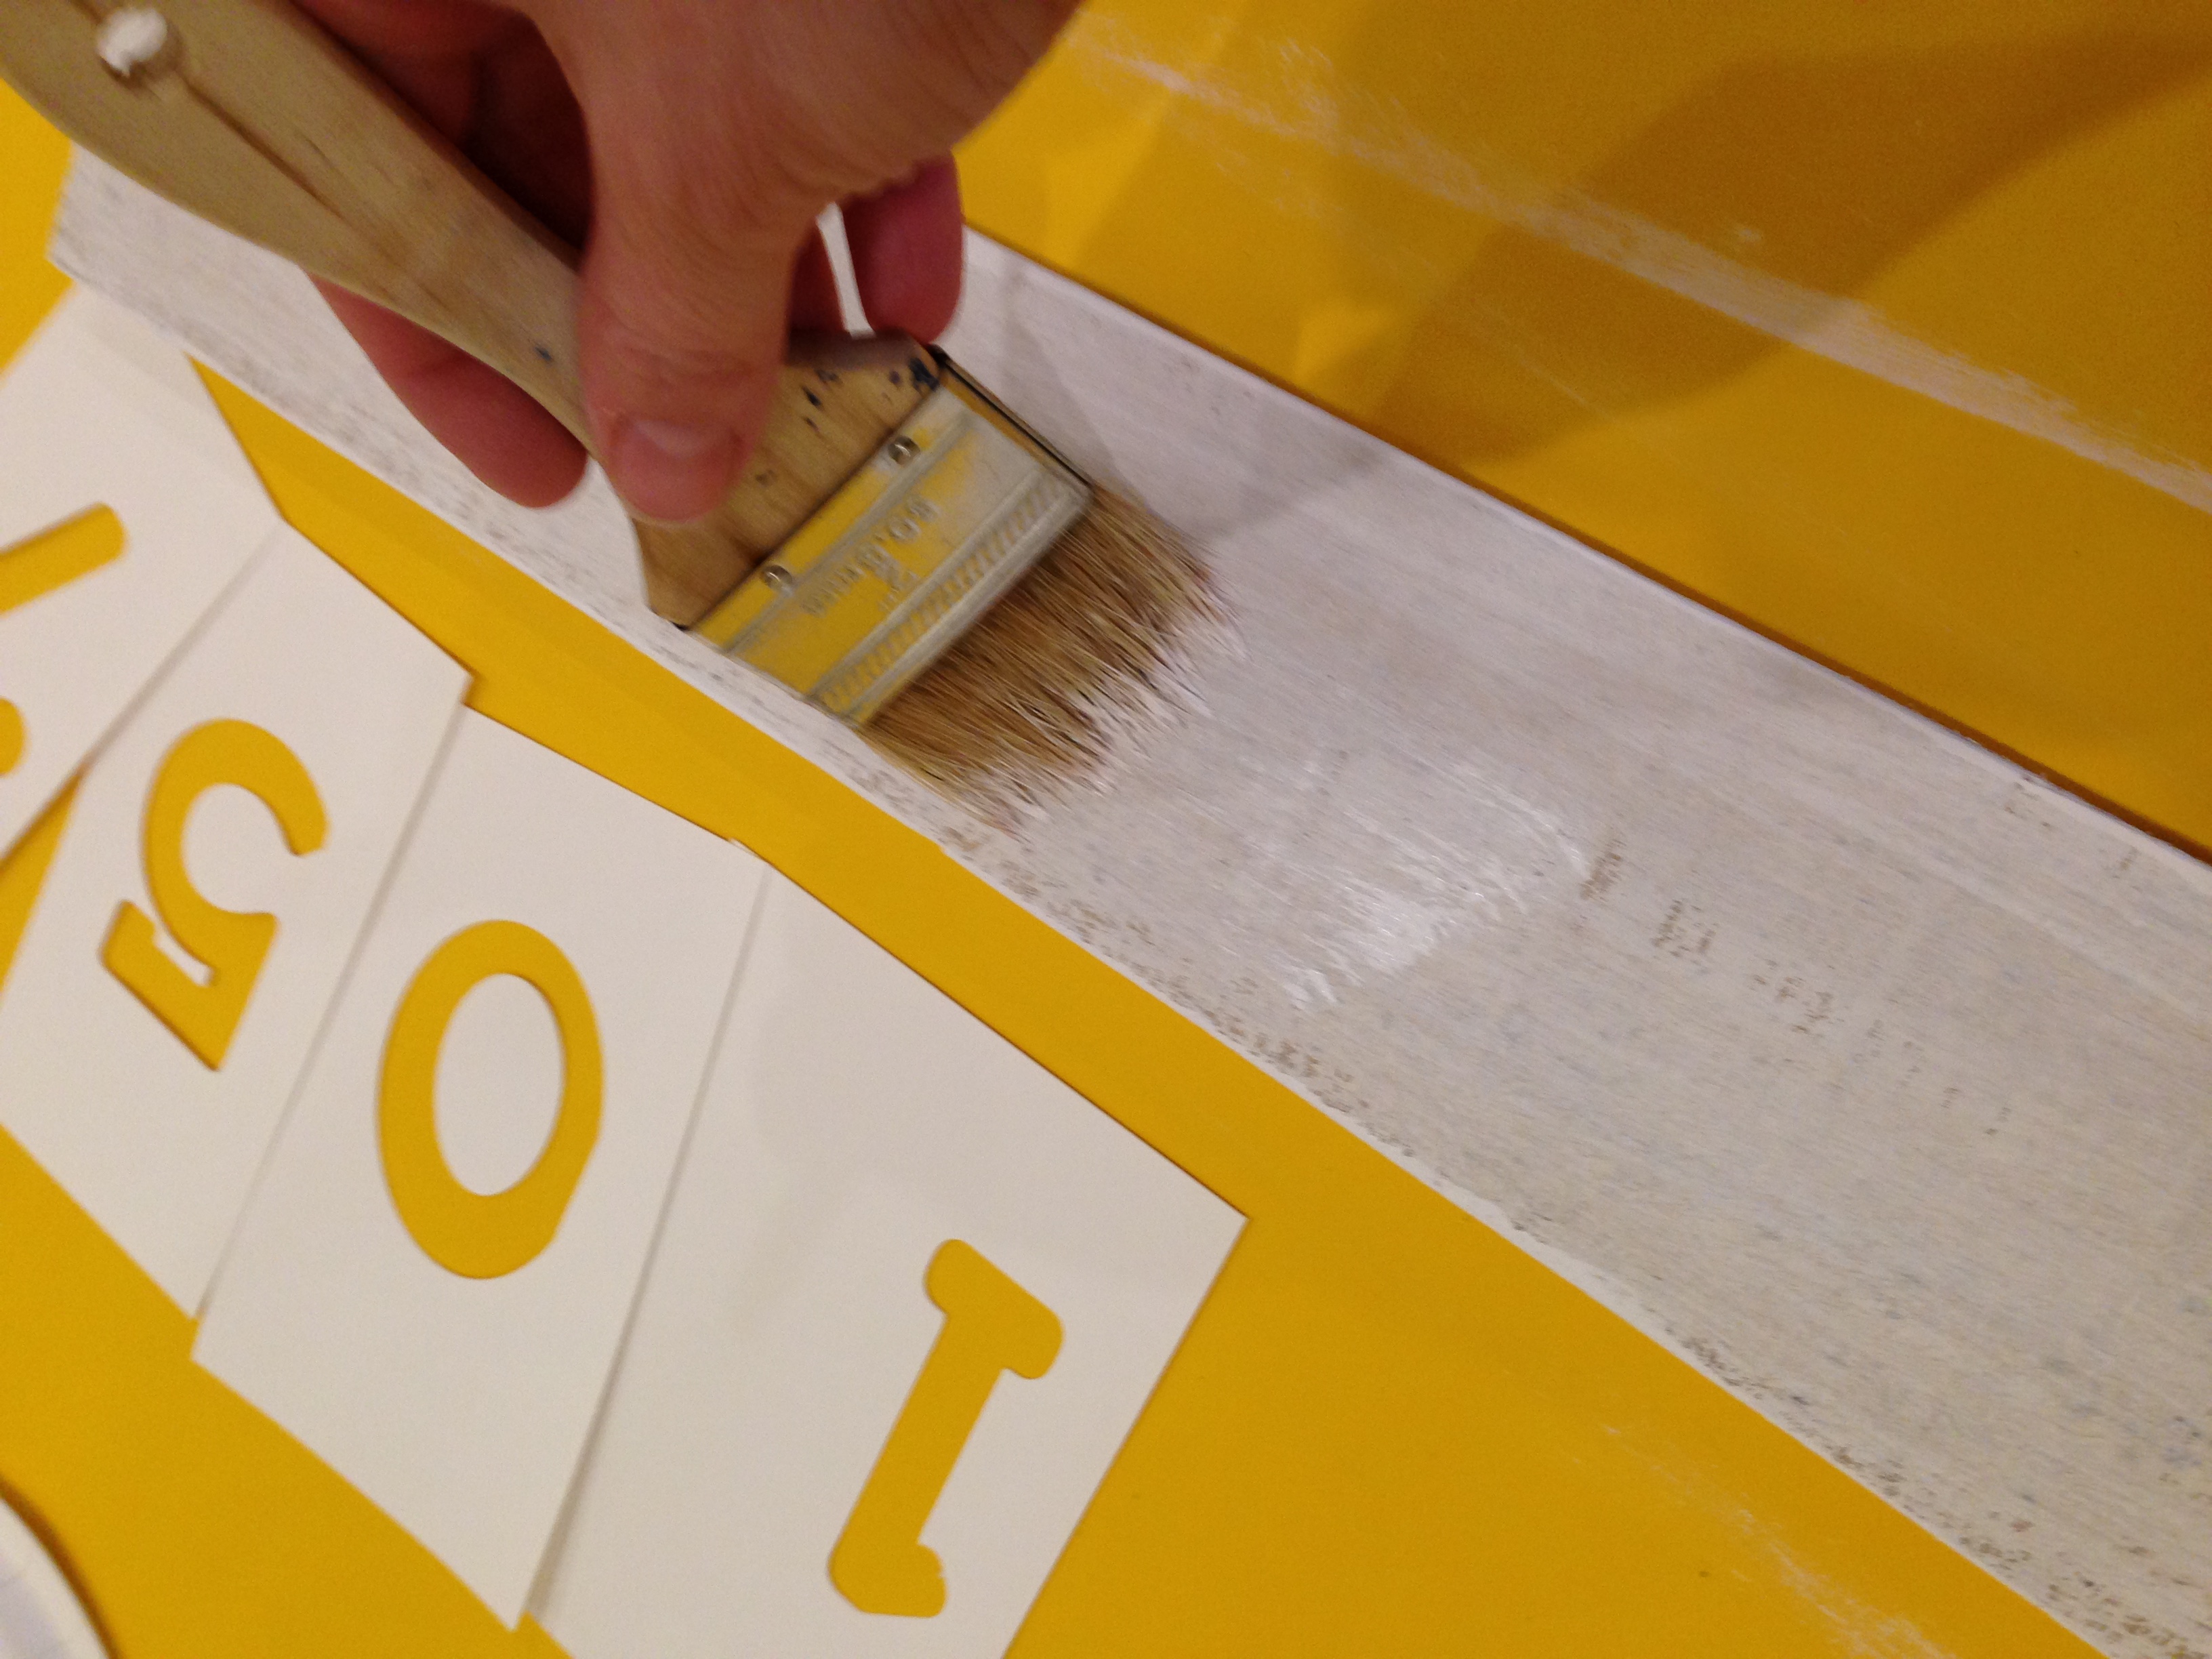
1. Begin by painting your board white. It’s not necessary to fill in every square inch with paint – we’re going for rustic. So just slap it on!
2. Once your white paint is dry – you’re ready for stenciling. Begin by laying out your stencils to figure out spacing. We just eye-ball it…no need for measurements! Remember – RUSTIC!
3. Once your stencils are placed where you’d like them, tape them down to the board to keep them secure.
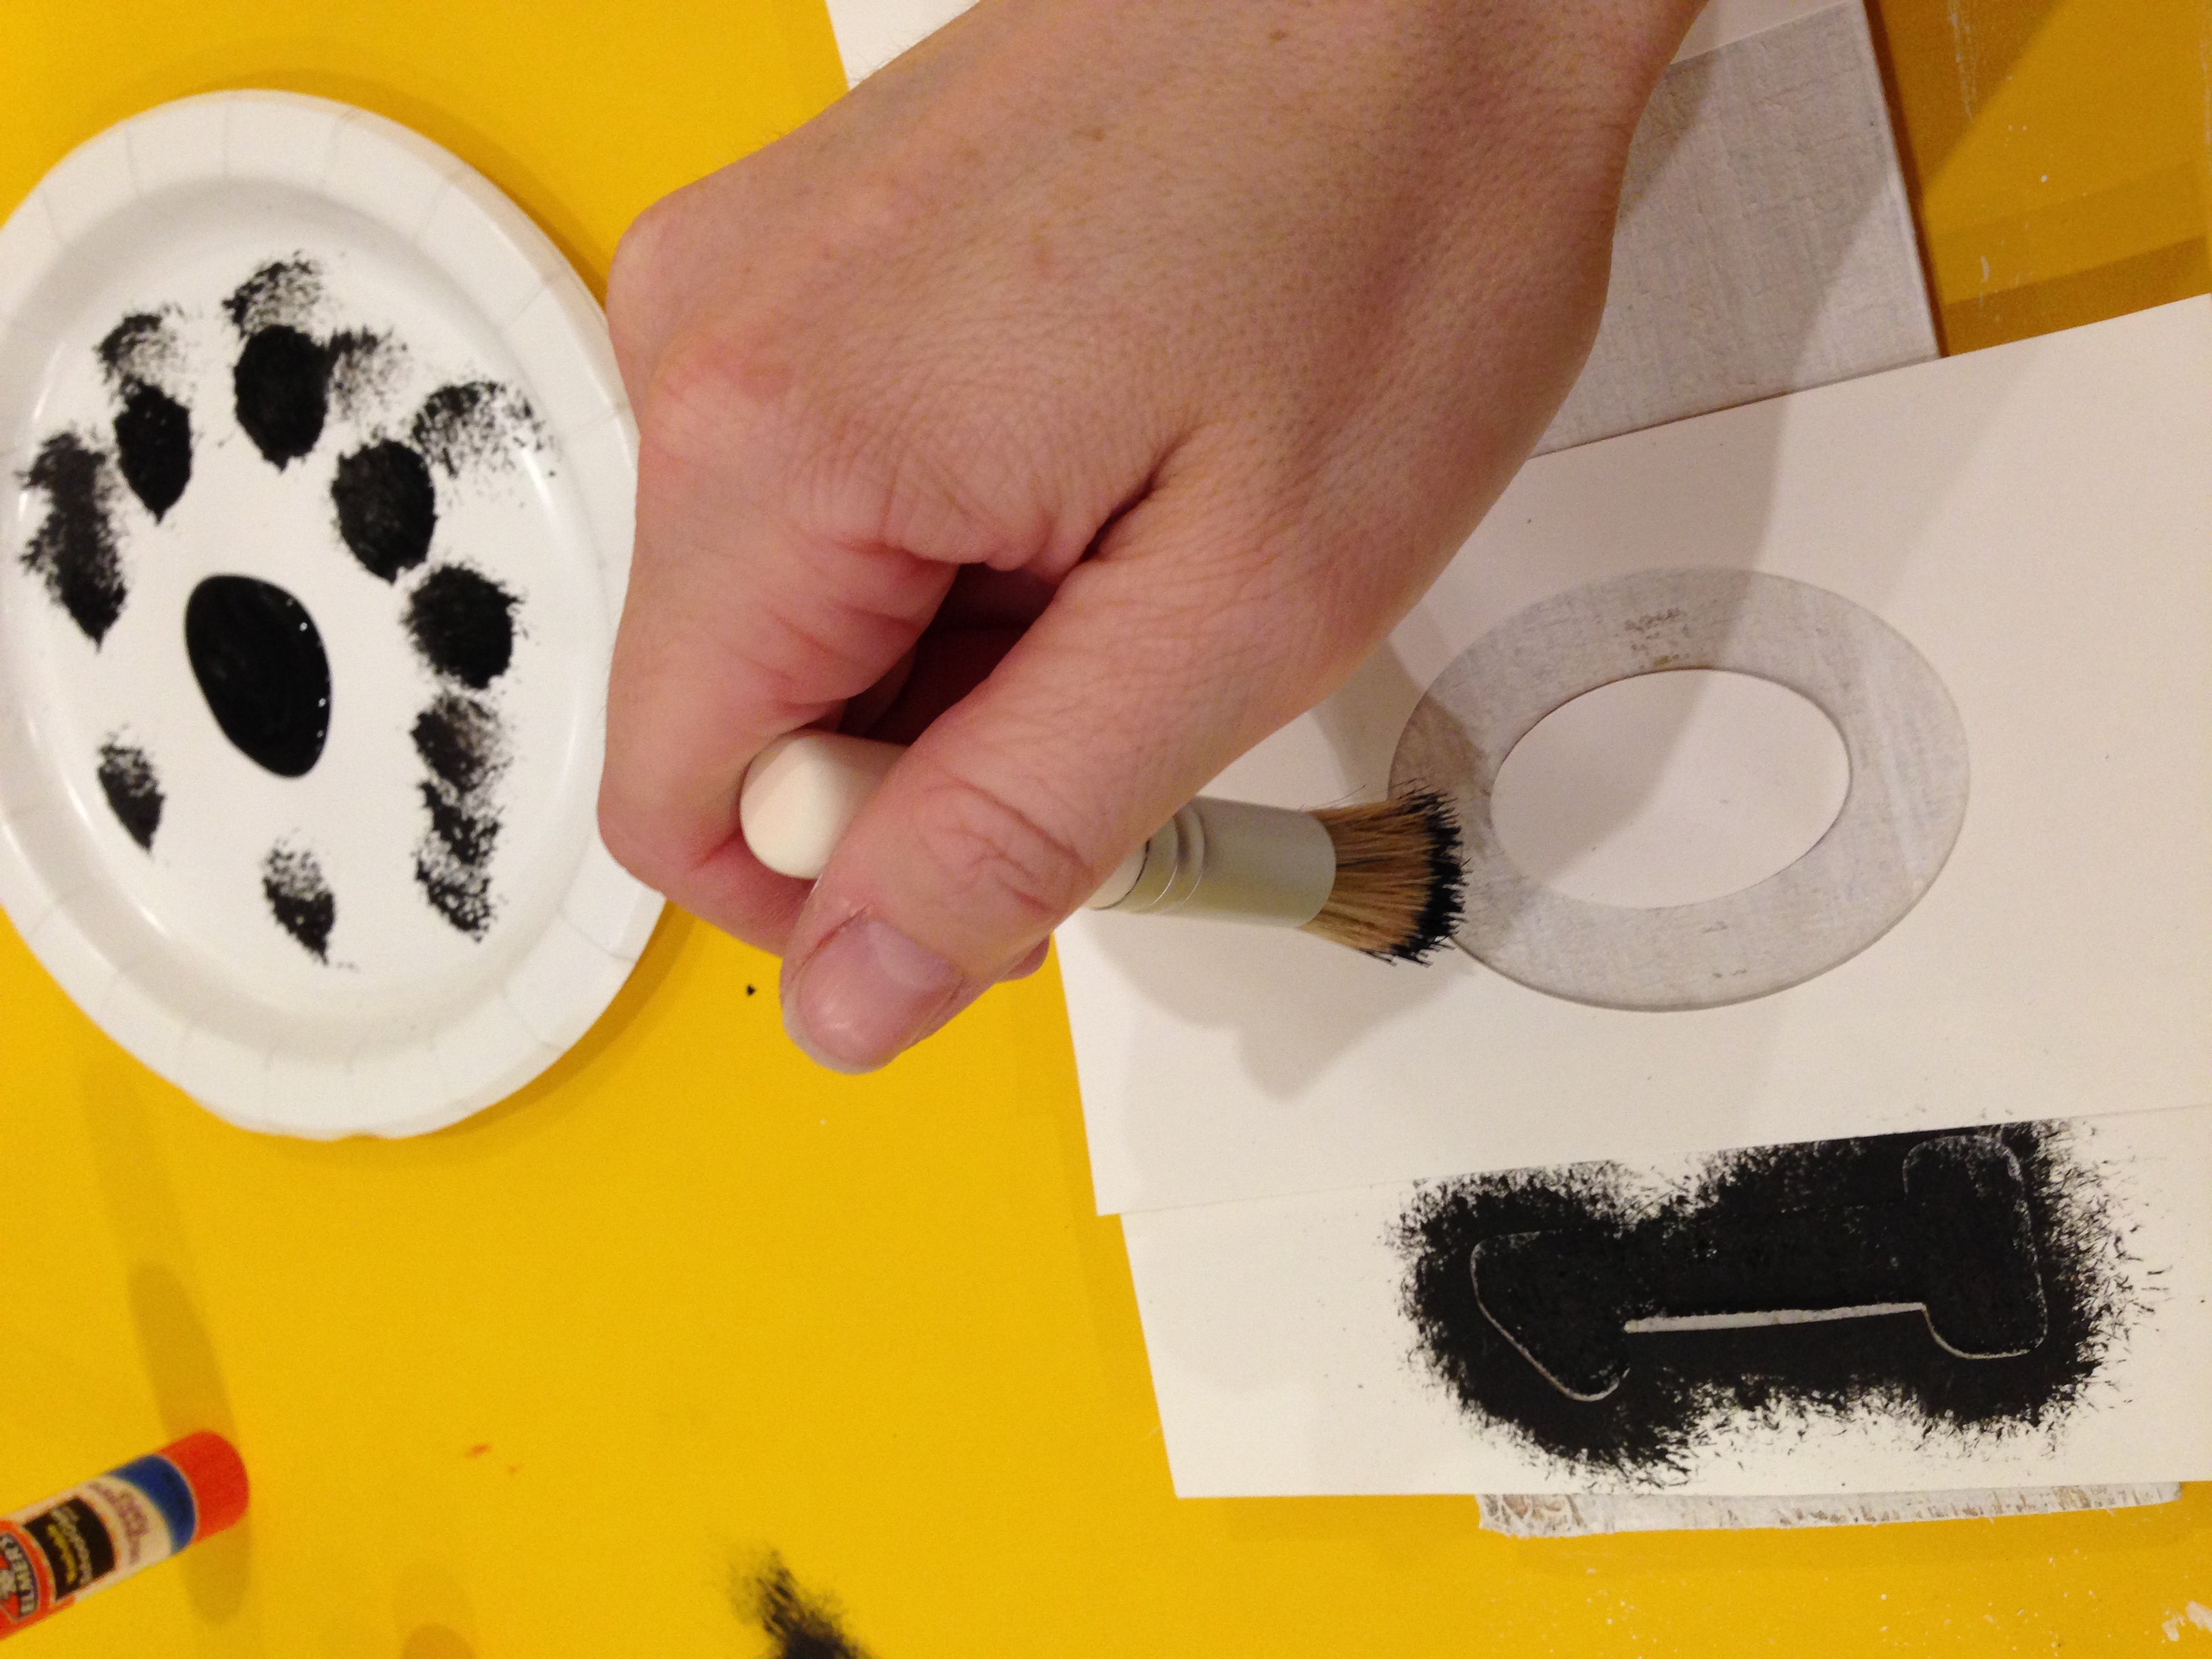
4. Using your stencil brush, dip just the tip of the brush in a small amount of black paint. Remove the excess by dabbing clean portions of your plate. Then begin stenciling your numbers in an up and down motion. Do not brush side to side or you will get paint under your stencil!
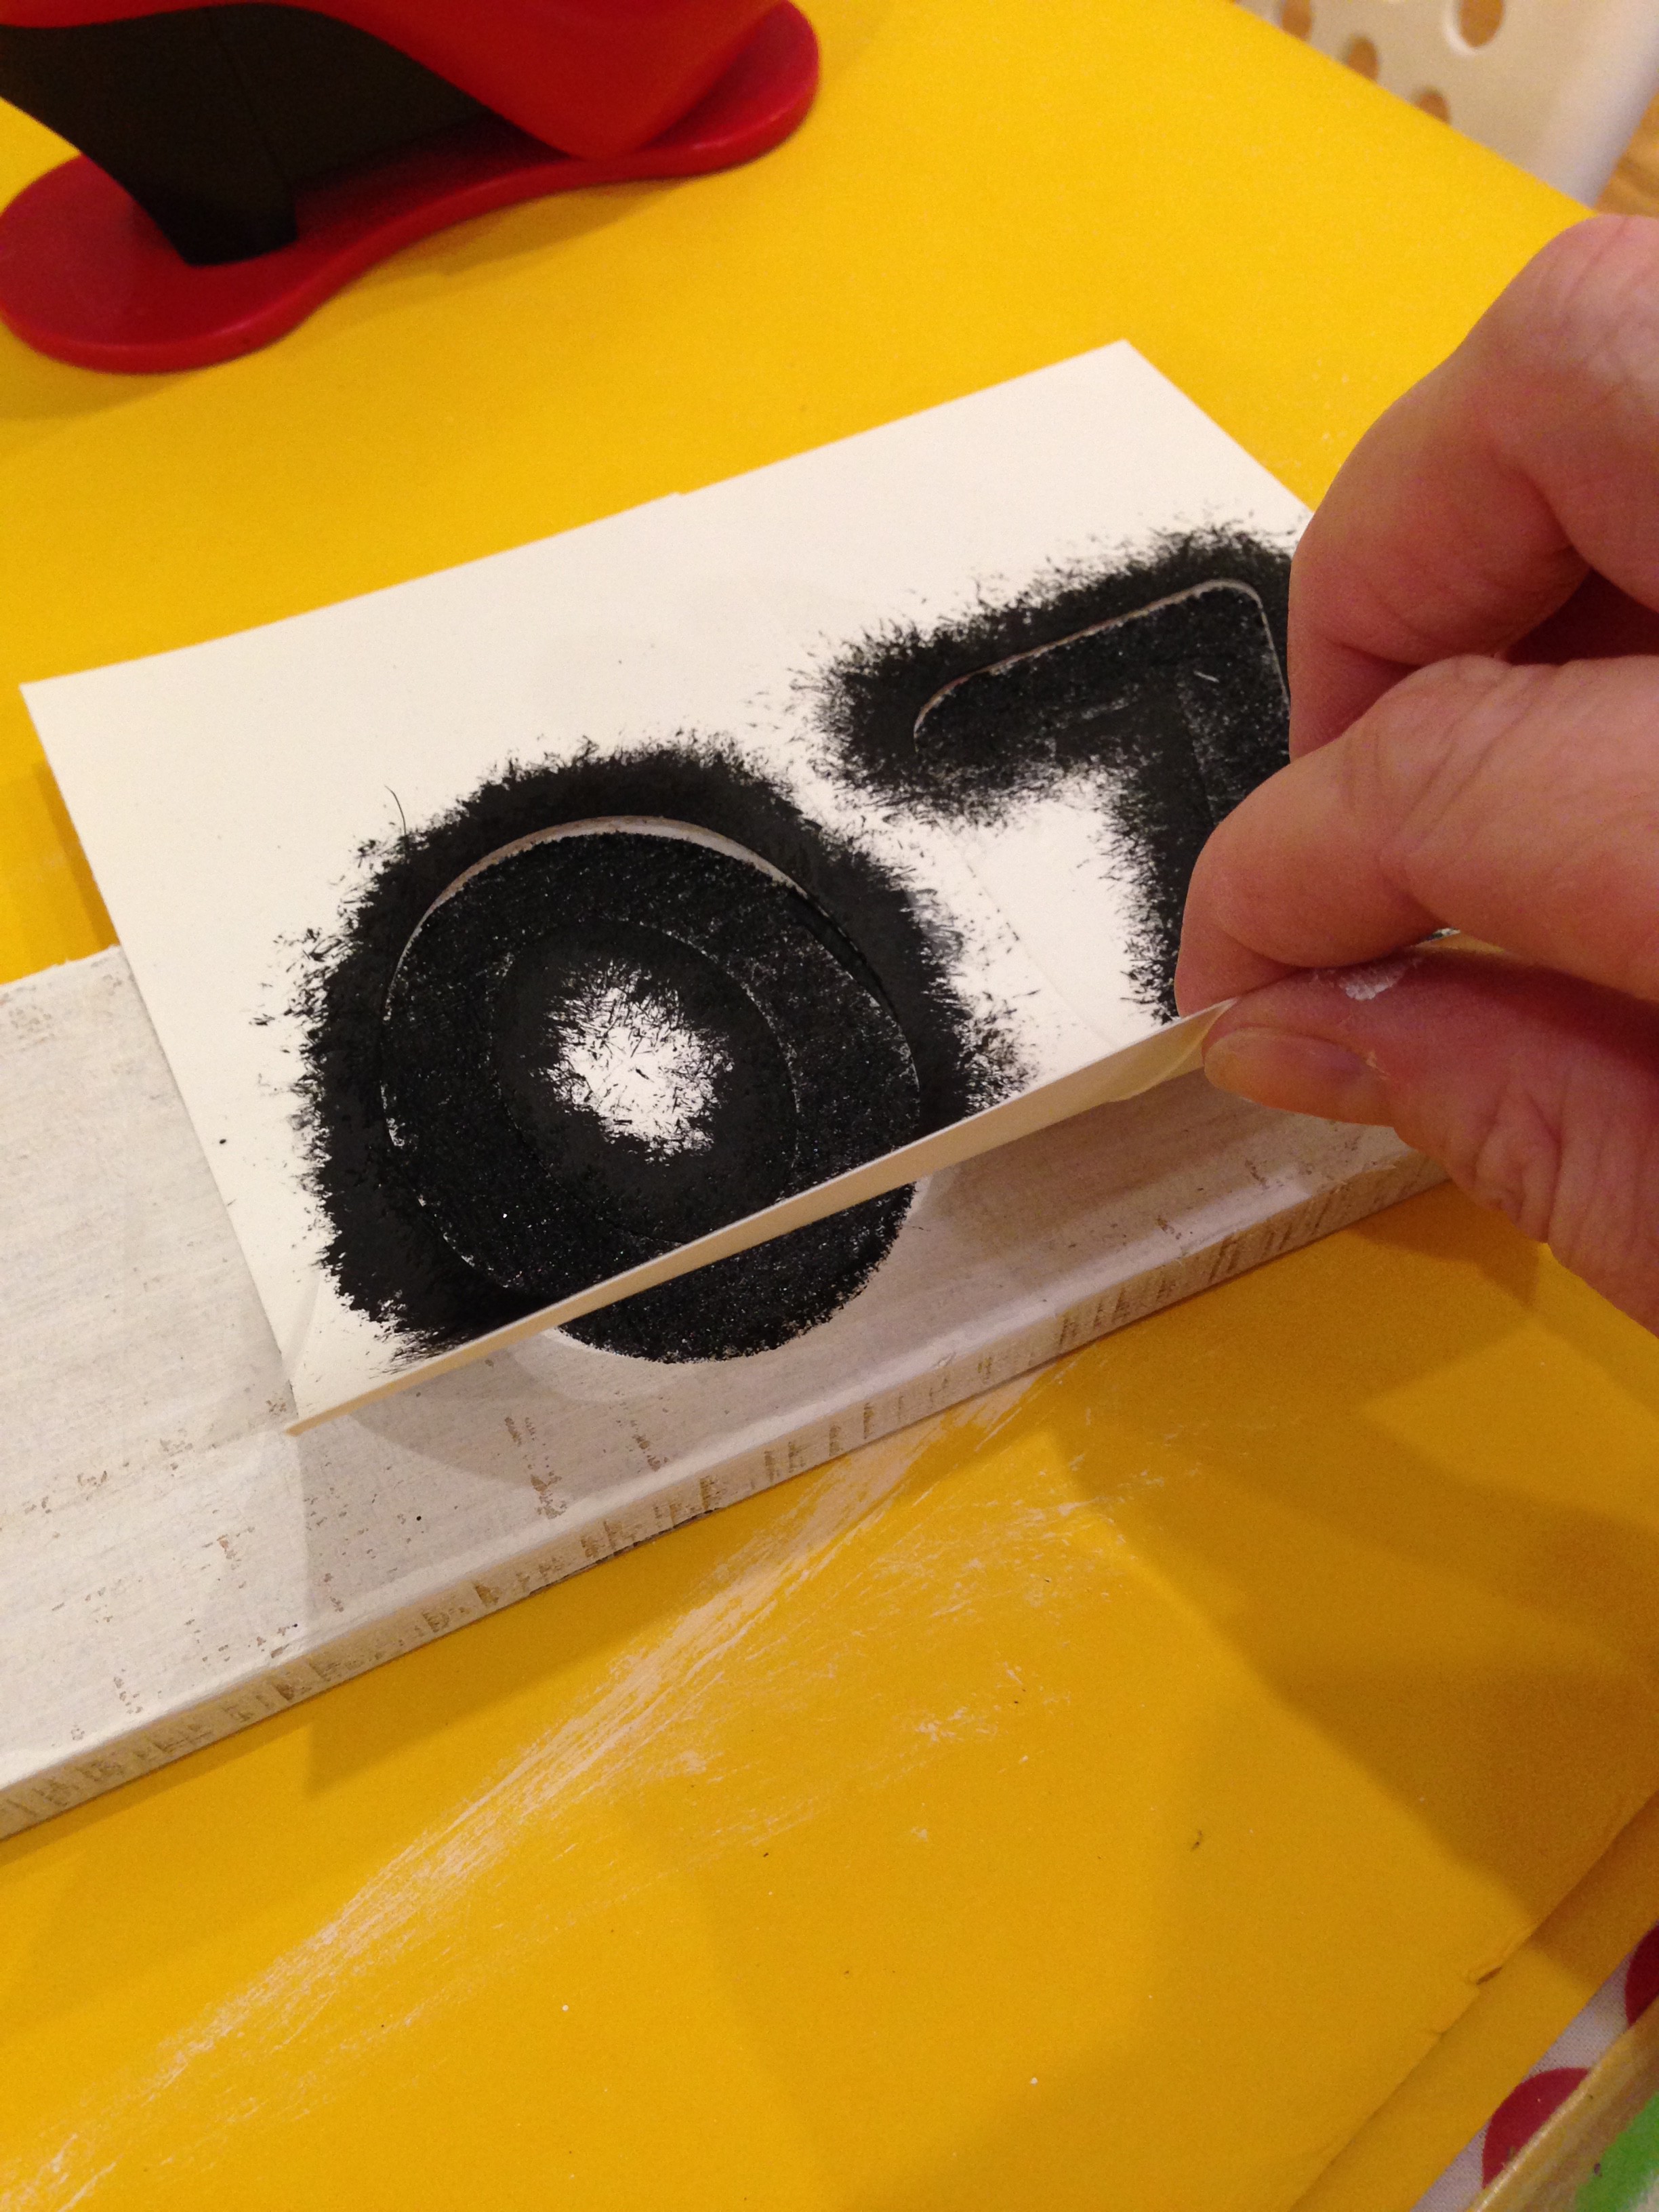
5. Once you have stenciled all of your numbers, carefully remove your stencil from the board. Begin by pulling from the bottom and pulling the paper up and back to avoid dragging paint across the board.
6. Once your numbers are dry, use a fine-tip paint brush and red paint to draw hearts where the dashes would be in your date. Again, don’t worry too much about perfection. If the outlining isn’t perfect, we’ll fix that later with sanding. If you’re not comfortable with free-handing, use a pencil to lightly outline a heart design and paint over it. Keep in mind, if the pencil is too dark, it may show through the paint!
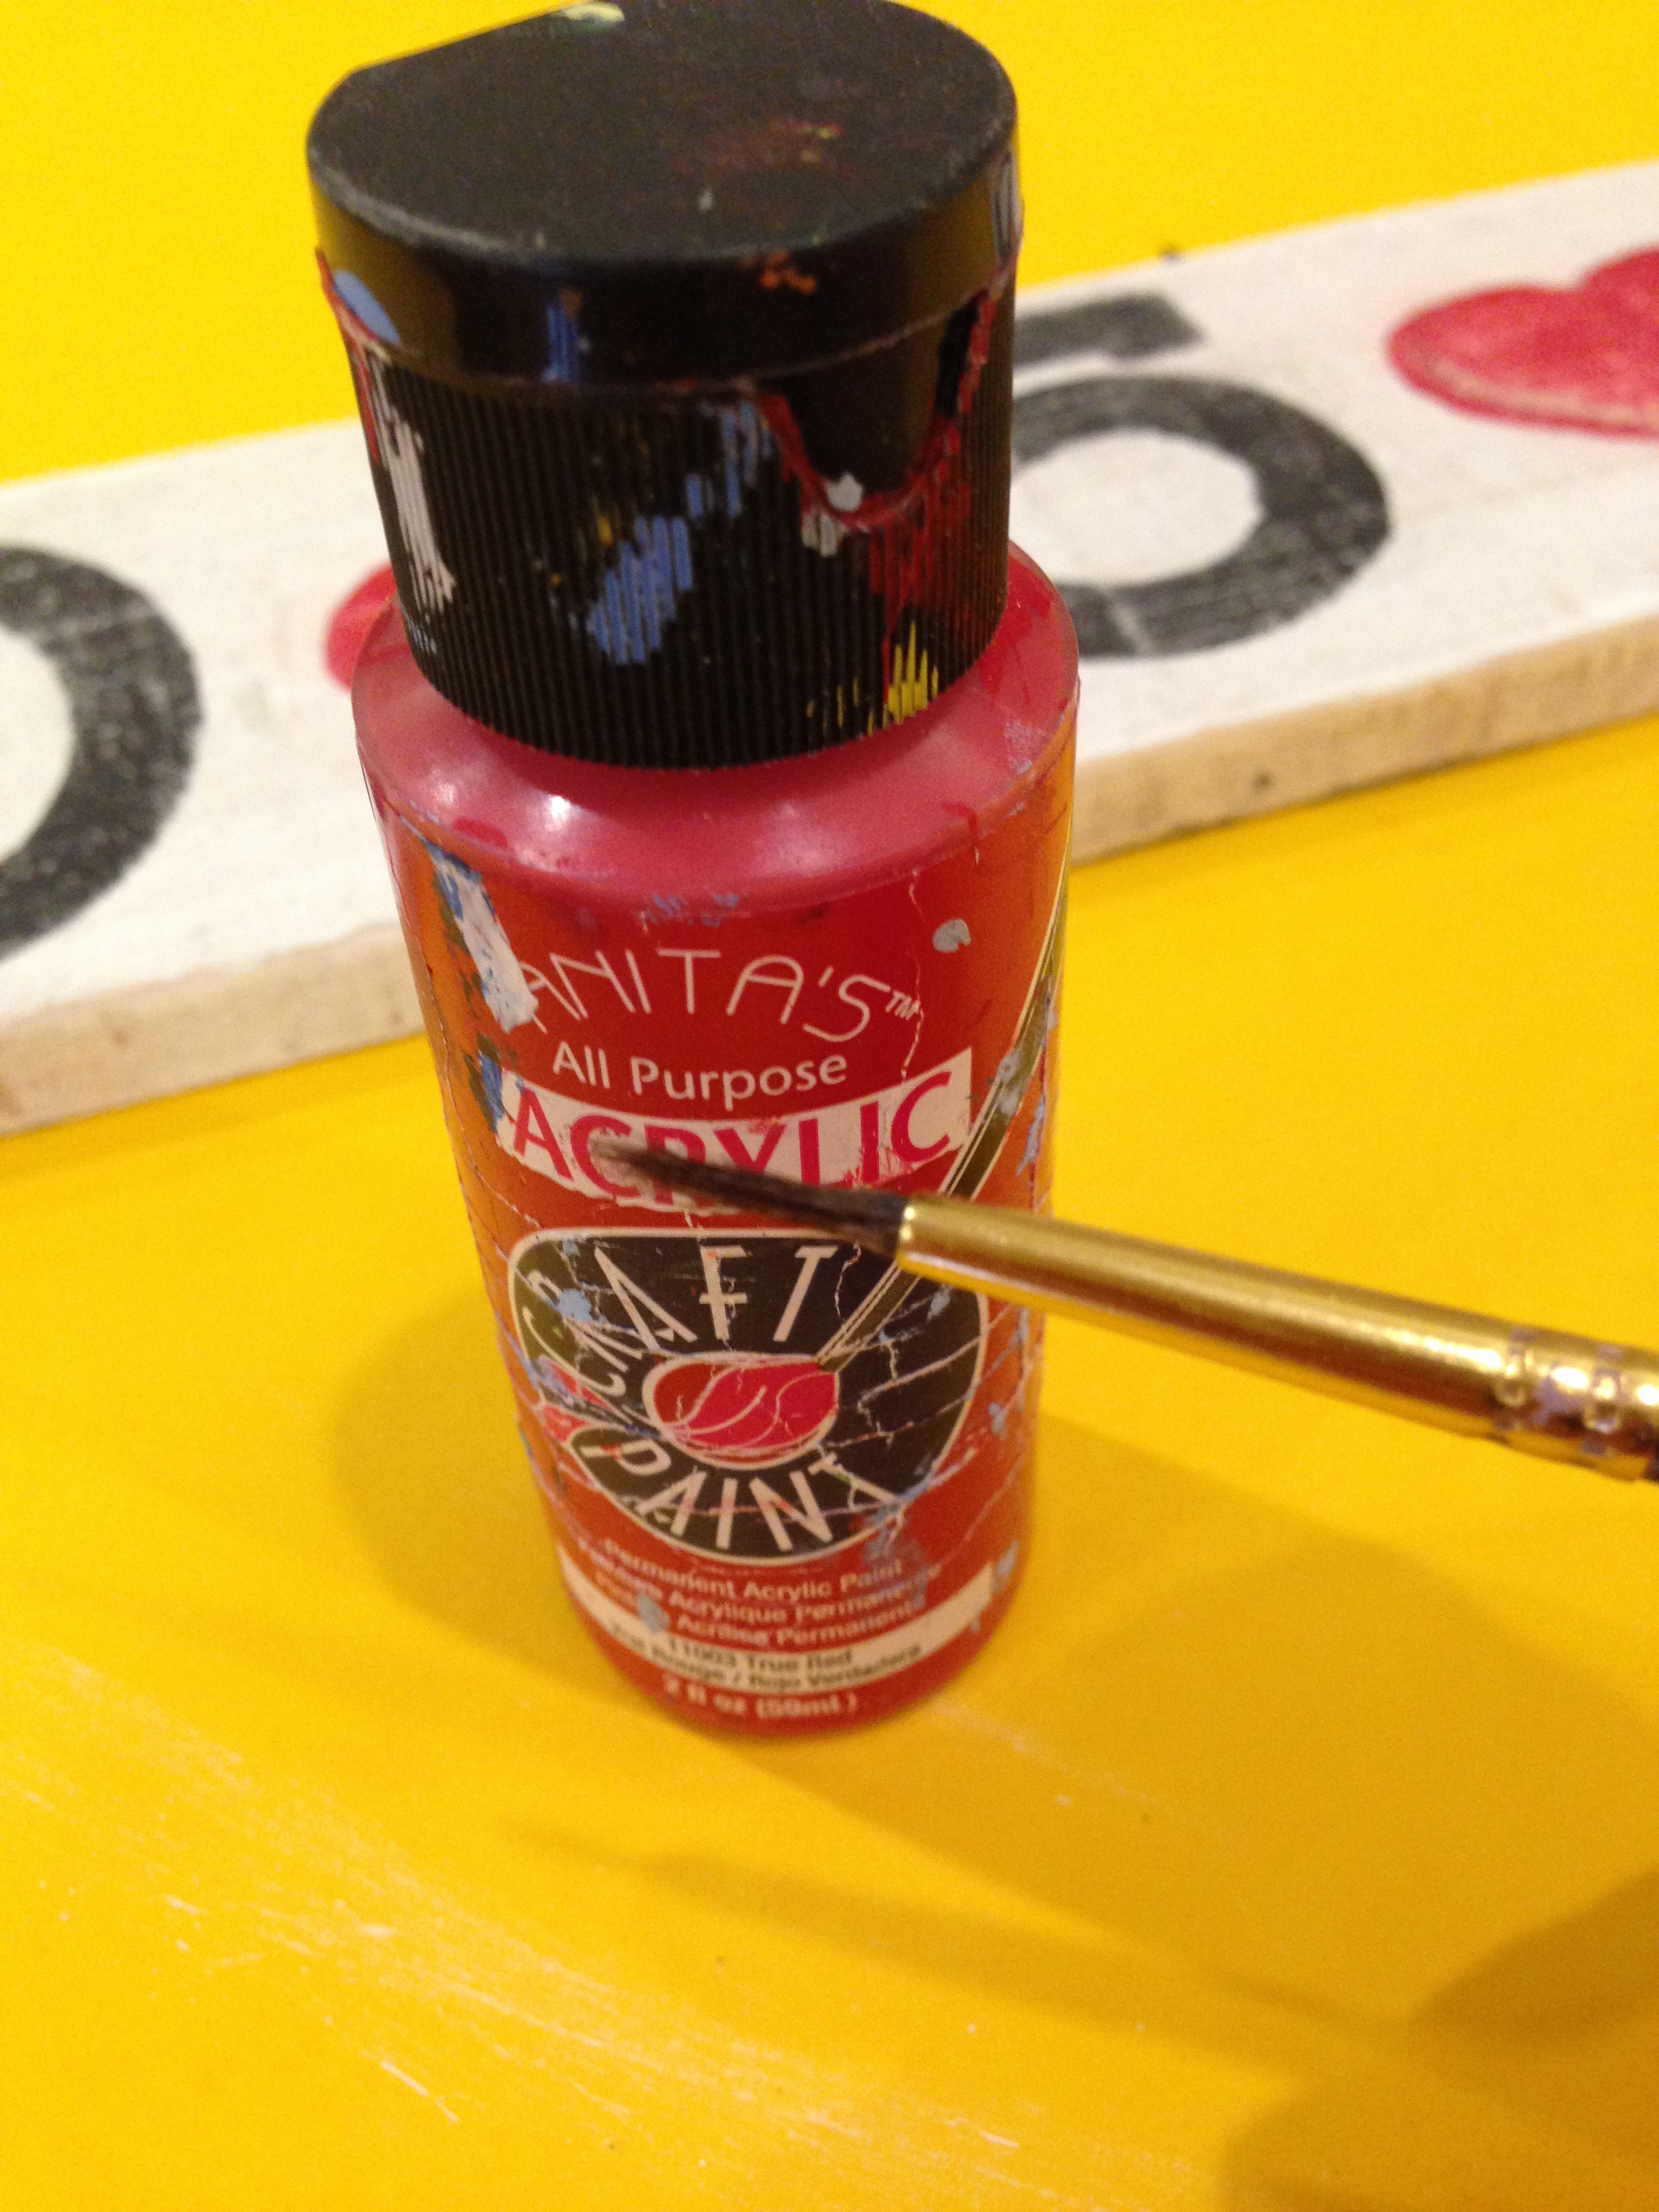
7. Make sure your sign is VERY dry – use a hair dryer or fan to help speed the process. If the paint is not completely dry before sanding you could smear the paint across the sign. It’s what we call a sign-fail. Ha! (no picture of this step – it’s like watching paint dry…)
8. Once your sign is dry, use 220 grit sandpaper to lightly distress the edges and numbering on your sign. Remember how I said it didn’t matter if your outlining was perfect? This is where we fix those imperfect lines. Sanding will distress the edges of your numbers and heart so you won’t even notice if they’re perfect…or not!
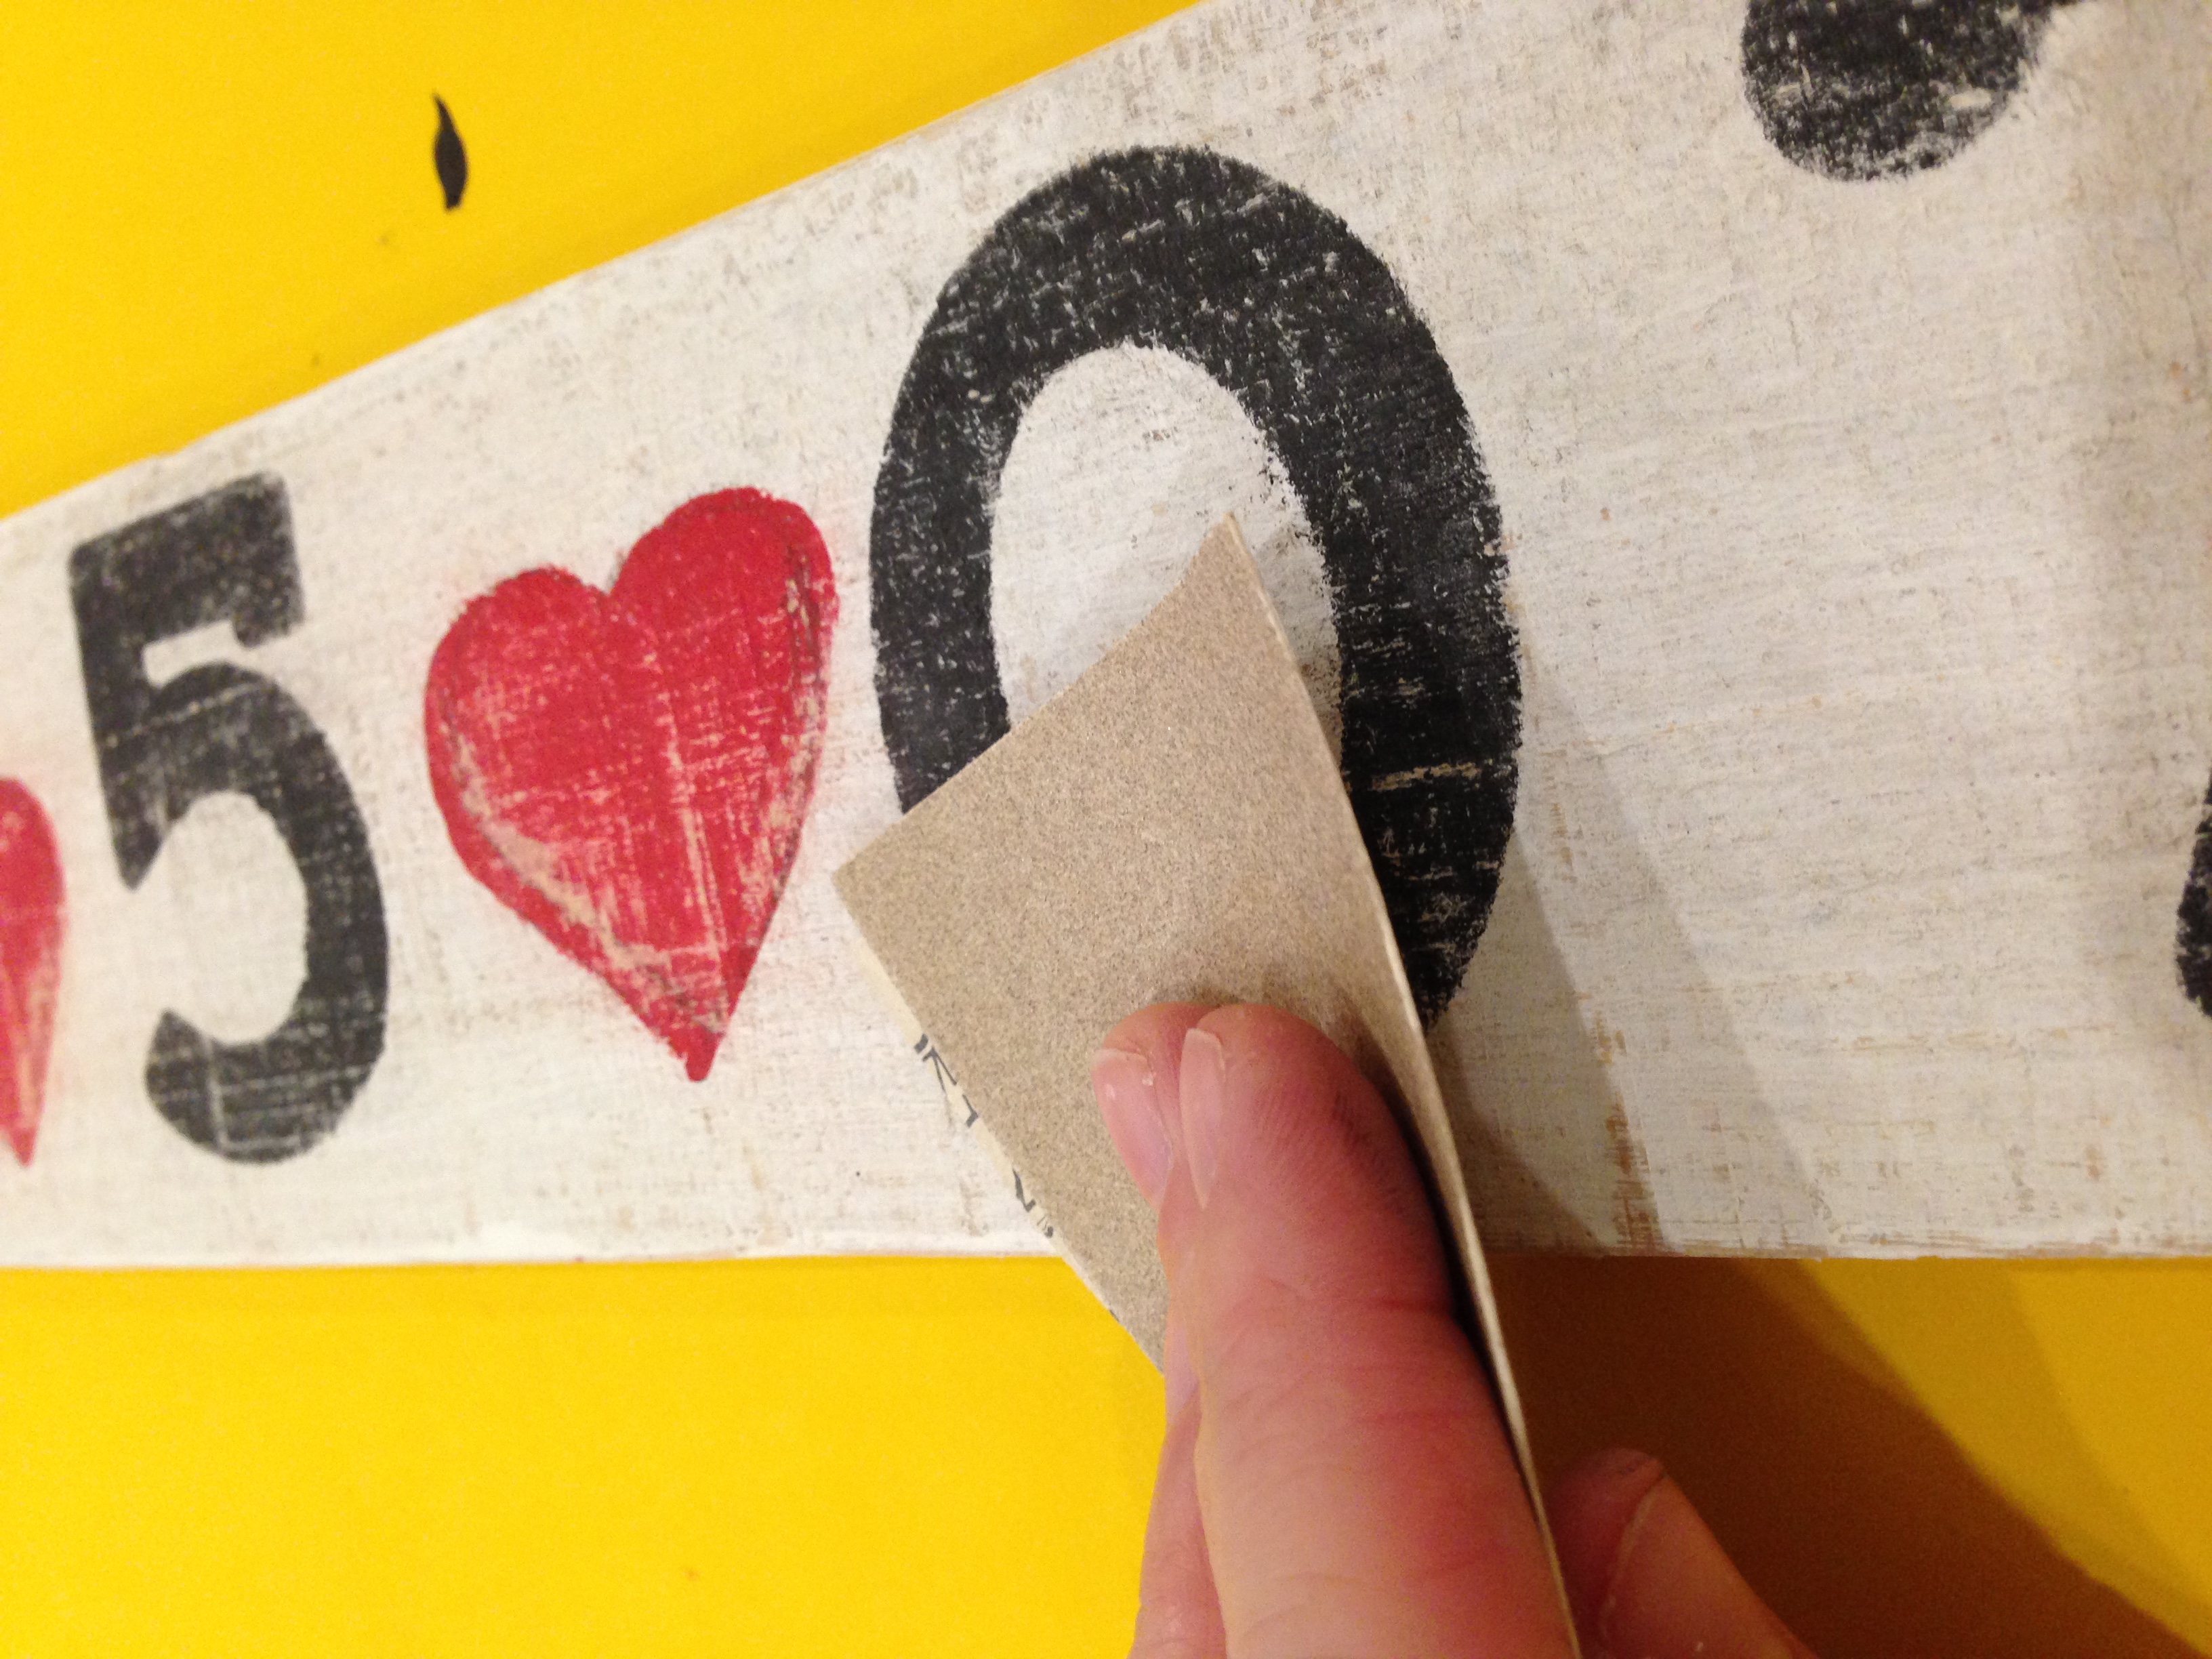
And there you have it! A super cute, super easy, super quick anniversary sign to add to your home!
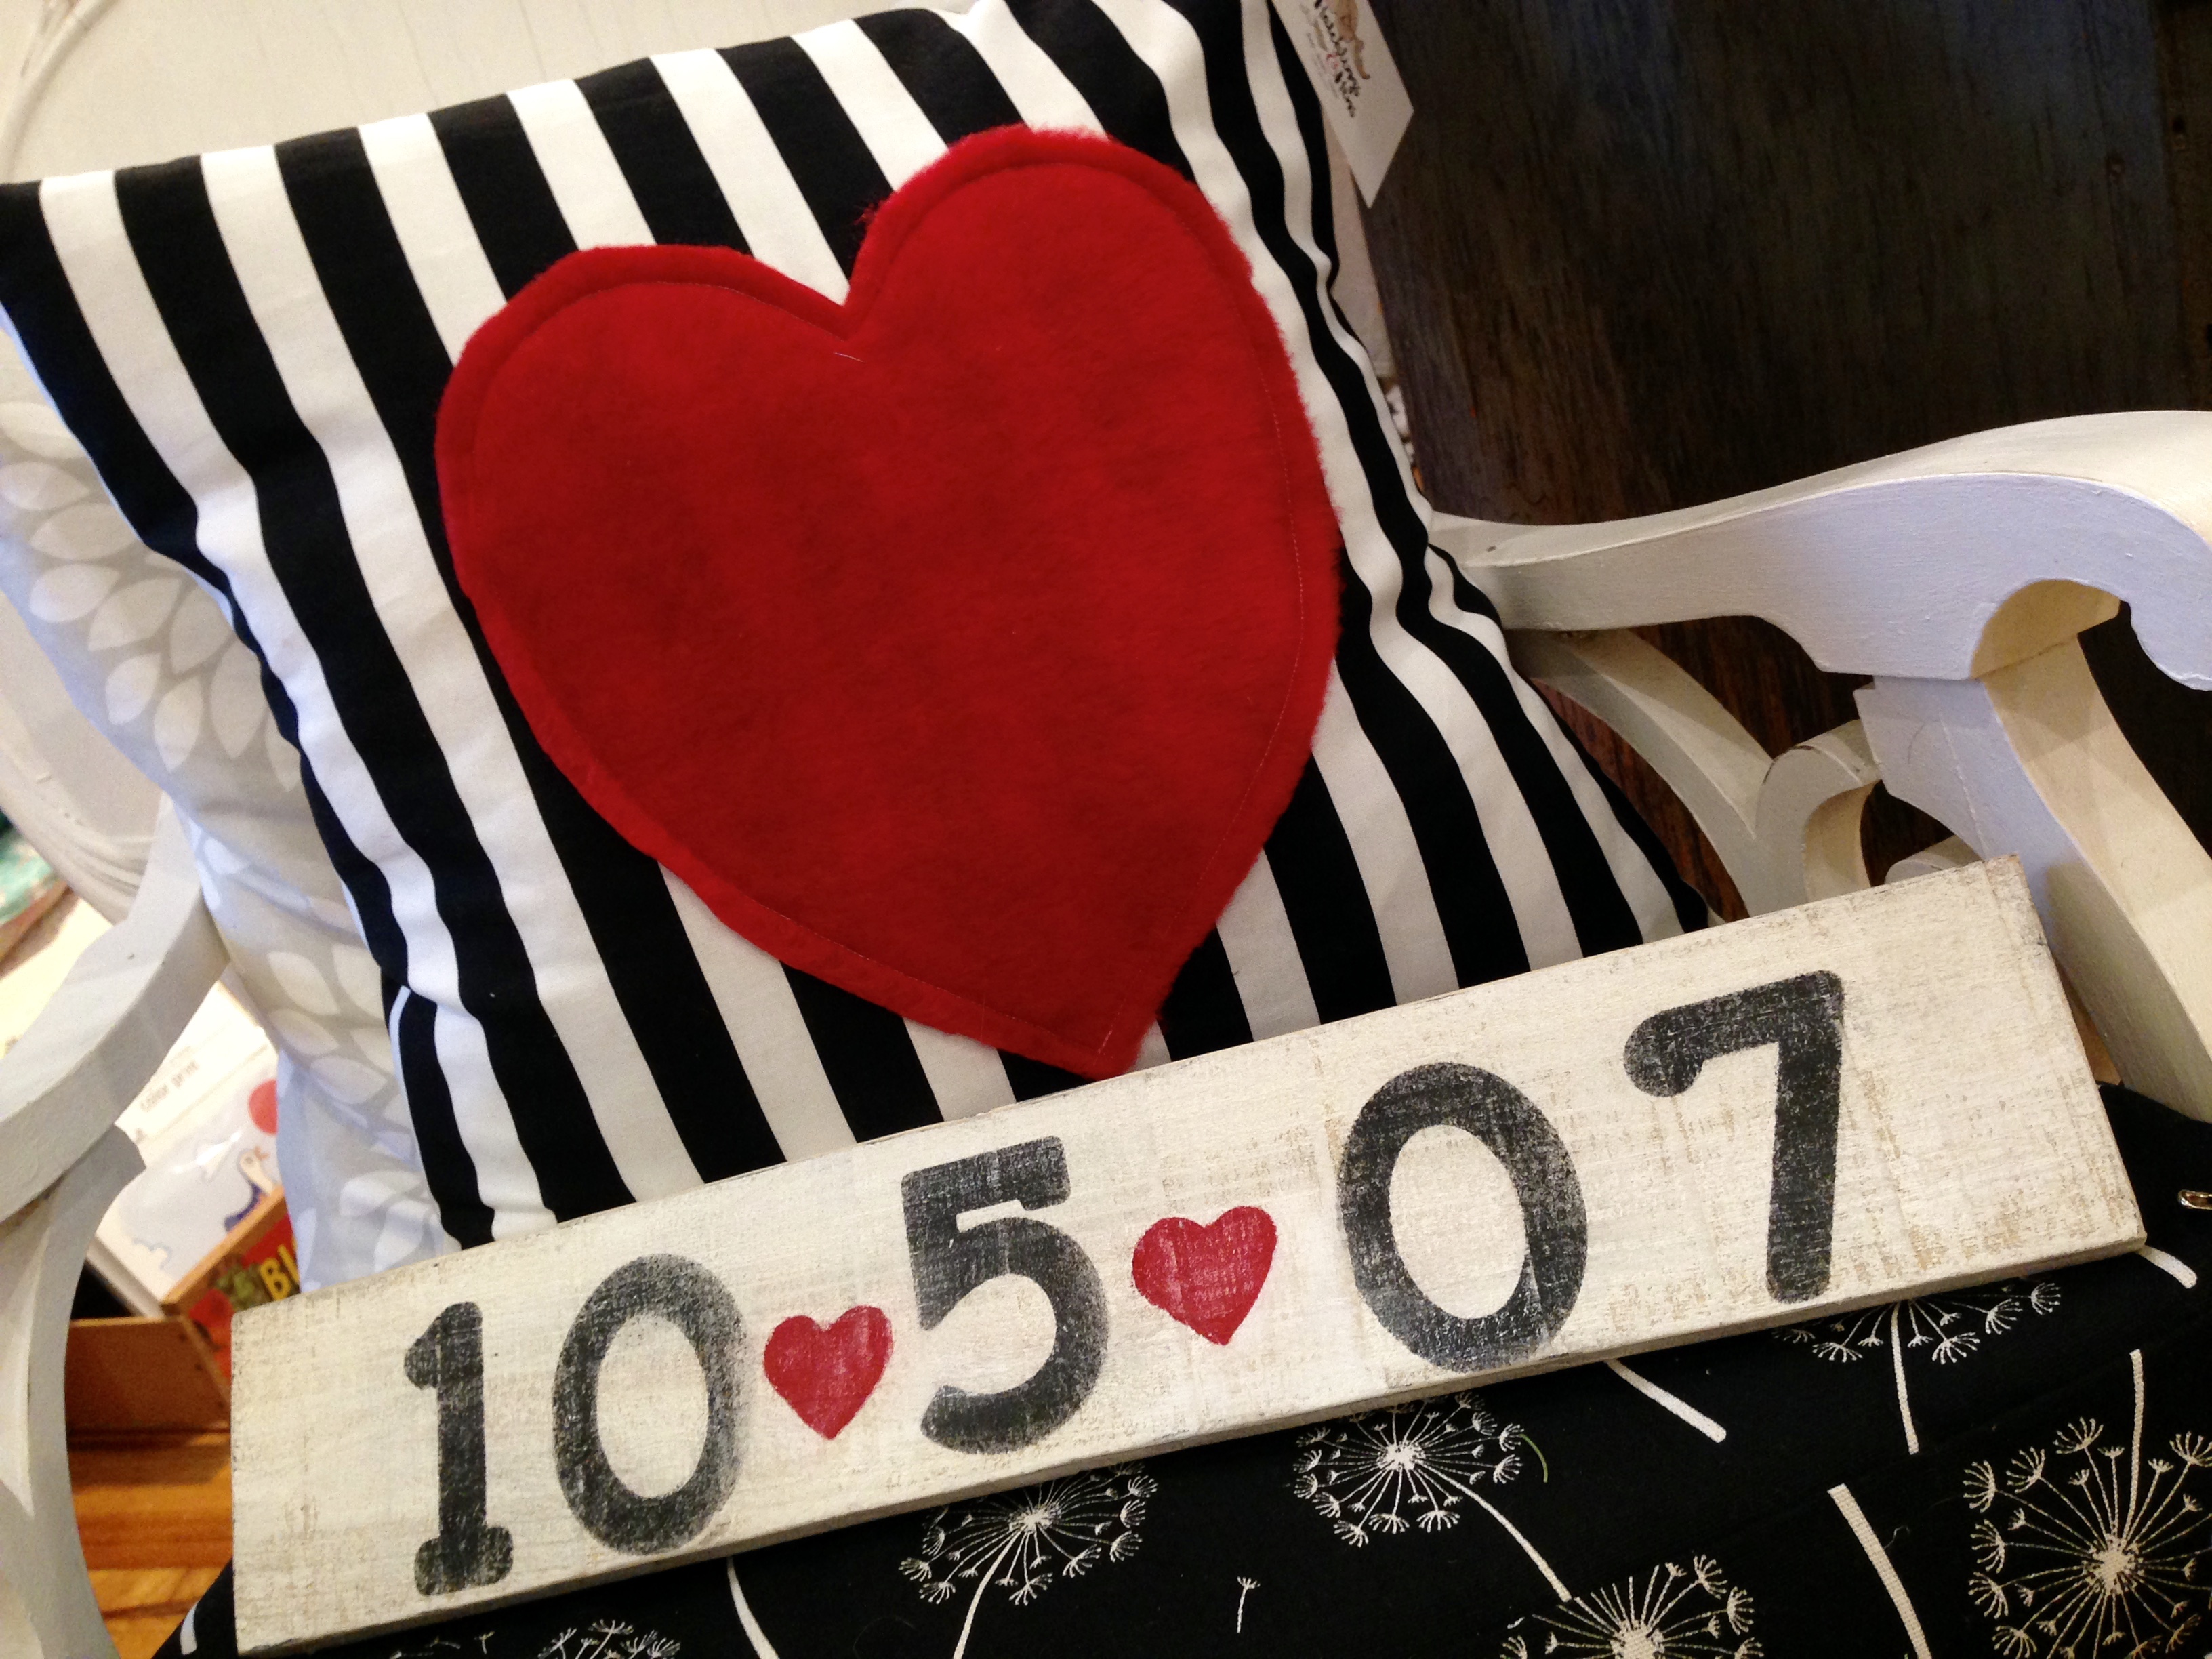
Don’t think you can tackle it yourself? Or you don’t have the supplies? Swing by the shop on Thursday, February 9 from 6-9:00 p.m. and we’ll be happy to hold your hand – and provide the supplies. Oh yeah – and FREE samples of Chocolate Chip Cookie Dough Truffles and Moscato d’Asti! Hope to see you there!


